
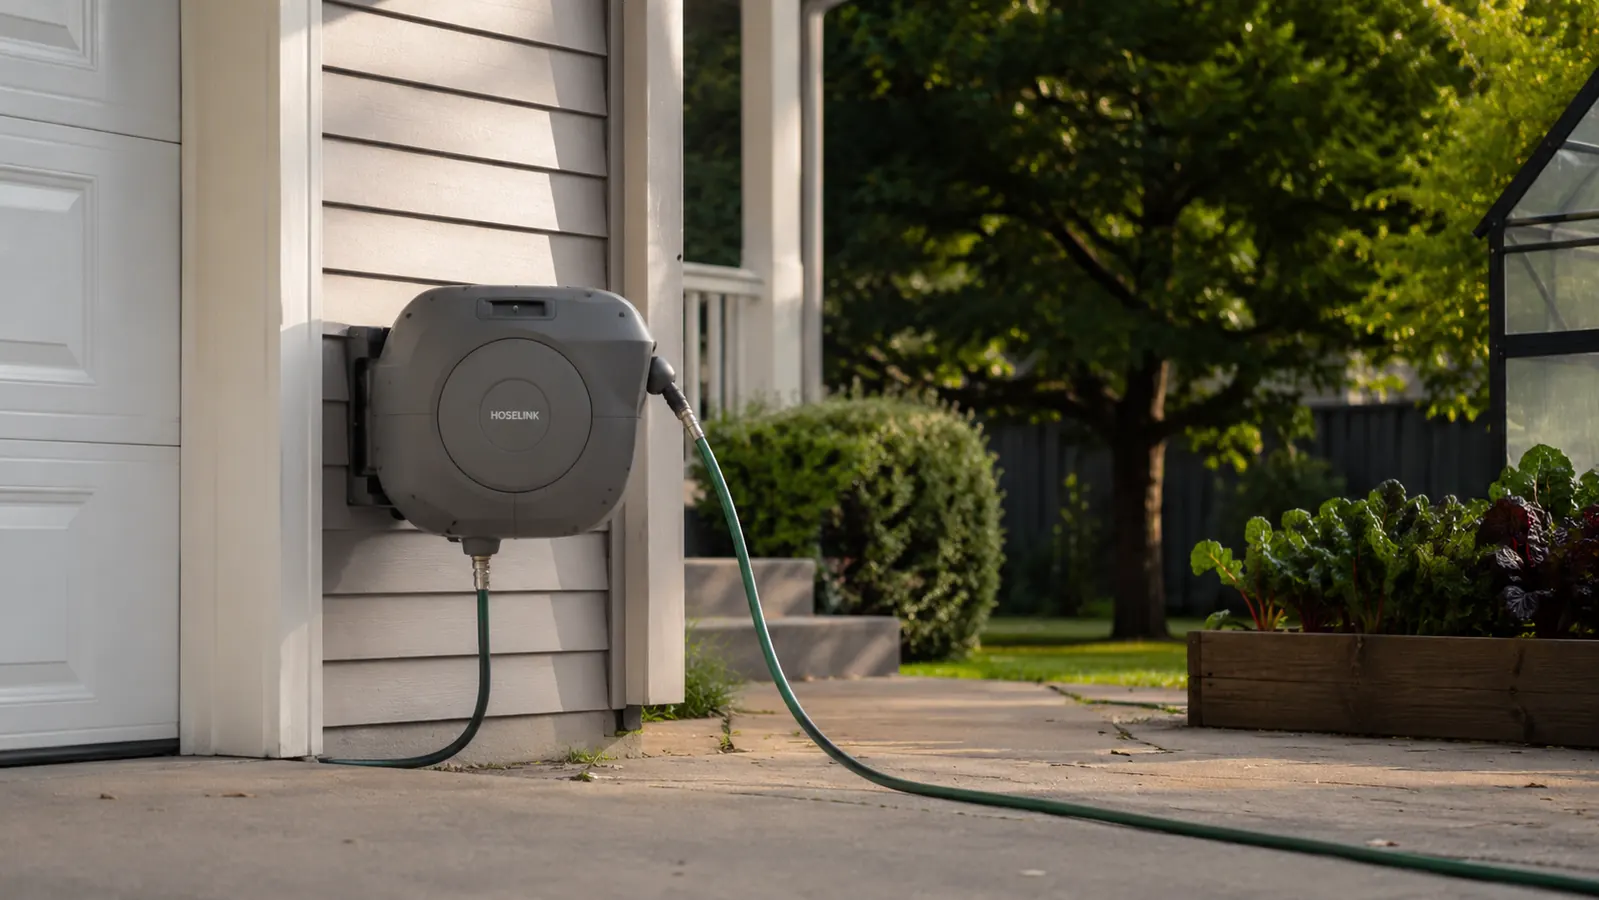
I spent two summers tripping over my garden hose. Not a metaphor. I actually tripped, once badly enough to catch myself on the raised bed frame with both hands. The hose was always in the wrong place, always kinked at the worst spot, always in a heap I had to untangle before I could water anything. My buddy Frank finally looked at it during a cookout and said, "Ray, why don't you just put a wall reel on the garage?" I had no good answer. Three weeks later I had the Ayleid 100-foot wall-mount retractable reel on my south-facing garage wall, and the hose has not touched the ground since.
The install took me about 45 minutes, and I am not a fast man with a drill anymore. My knees appreciate a step stool instead of a ladder, and I planned this mount specifically so I would not need to get above three feet off the ground. If you plan the same way, you can do this in a single afternoon without asking anyone for help. Here is exactly how I did it, plus what I would have done differently on masonry or stucco walls.
If your hose is still on the ground, it is a fall hazard. The Ayleid reel fixes that in one afternoon.
The Ayleid 100ft retractable reel comes with the bracket hardware, a 9-pattern sprayer, and a 24-month warranty. Everything you need is in the box except the lag screws for your specific wall type.
Amazon Check Today's Price on Amazon →Step 1: Pick Your Mounting Spot and Check the Hose Path
Before you touch a drill, spend five minutes thinking about where the hose actually needs to go. Walk to the far corner of the yard you water most often and look back at the house. Where does a straight line from that corner land on the garage wall? That is your ideal mounting wall. If it is within six feet of an outdoor spigot, you are in business.
The Ayleid reel comes with a 5-foot leader hose that connects the reel to your spigot. That leader does not need to be perfectly straight, but it should not make a hard right angle. If your spigot is around the corner from your ideal mounting wall, measure the distance. Up to about four feet around a corner is workable with the leader hose. Beyond that, you would need a short extension hose between the spigot and the reel, which adds a potential leak point. Simpler to find a wall section closer to the spigot.
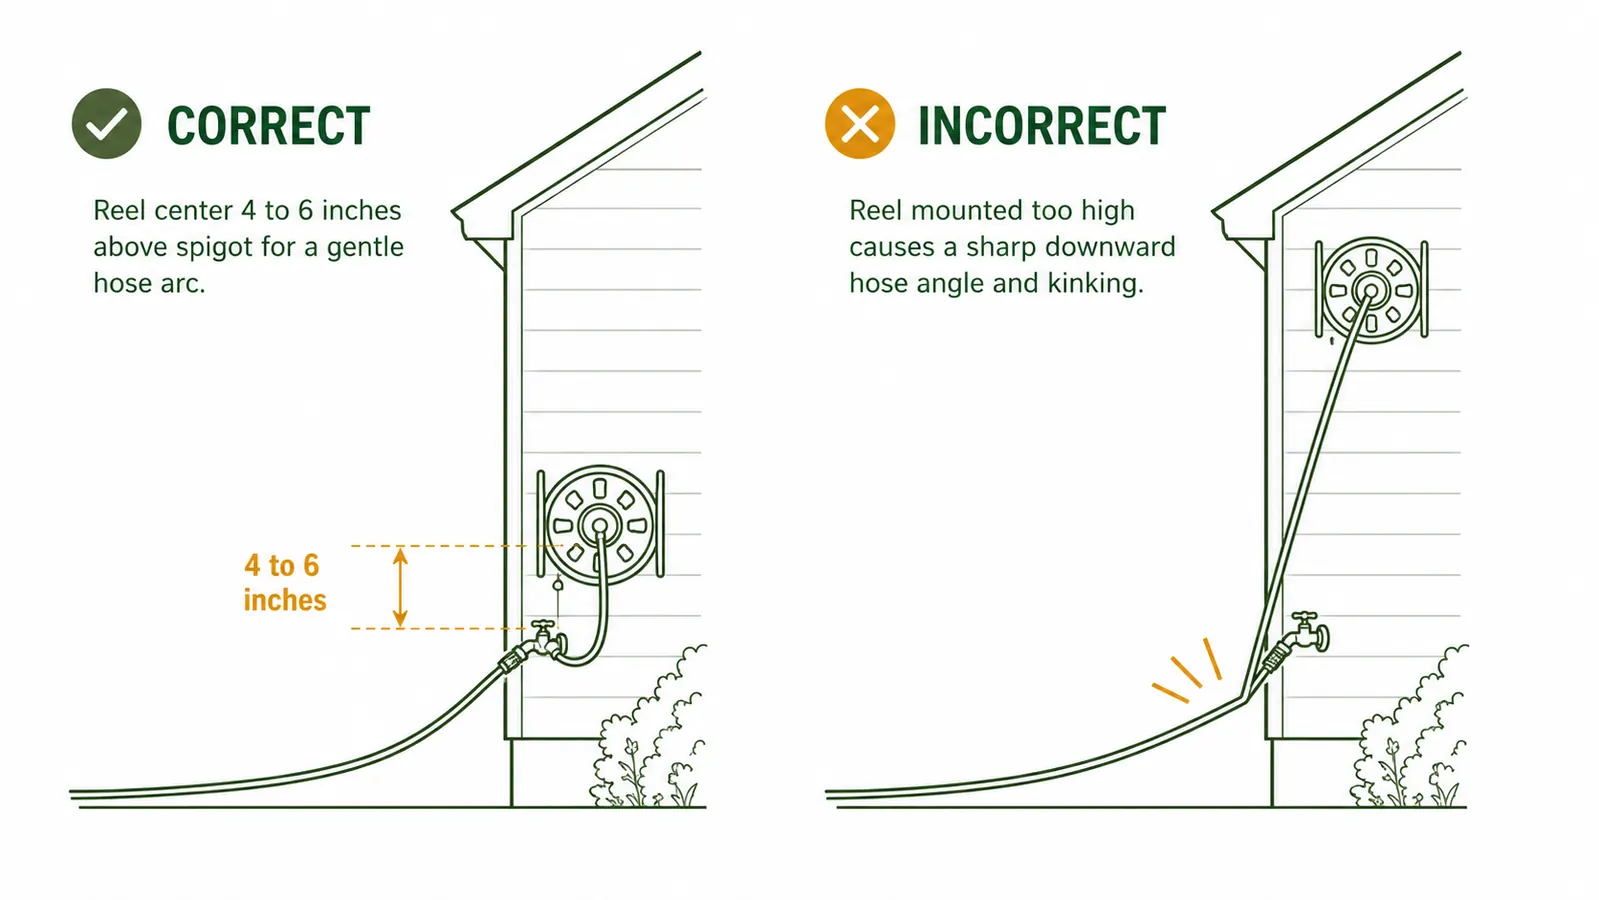
Mounting height matters more than most instructions say. I mounted my reel so the center of the bracket sits about five inches above the center of the spigot. That gives the leader hose a gentle upward slope, which keeps water from pooling in the connection. If you mount the reel too high, the leader hose makes a sharp downward angle where it meets the reel inlet, and that causes early kinking right at the coupling. Keep the reel center within four to eight inches of spigot height and you will avoid that problem.
Step 2: Find the Studs (or Know Your Wall Type)
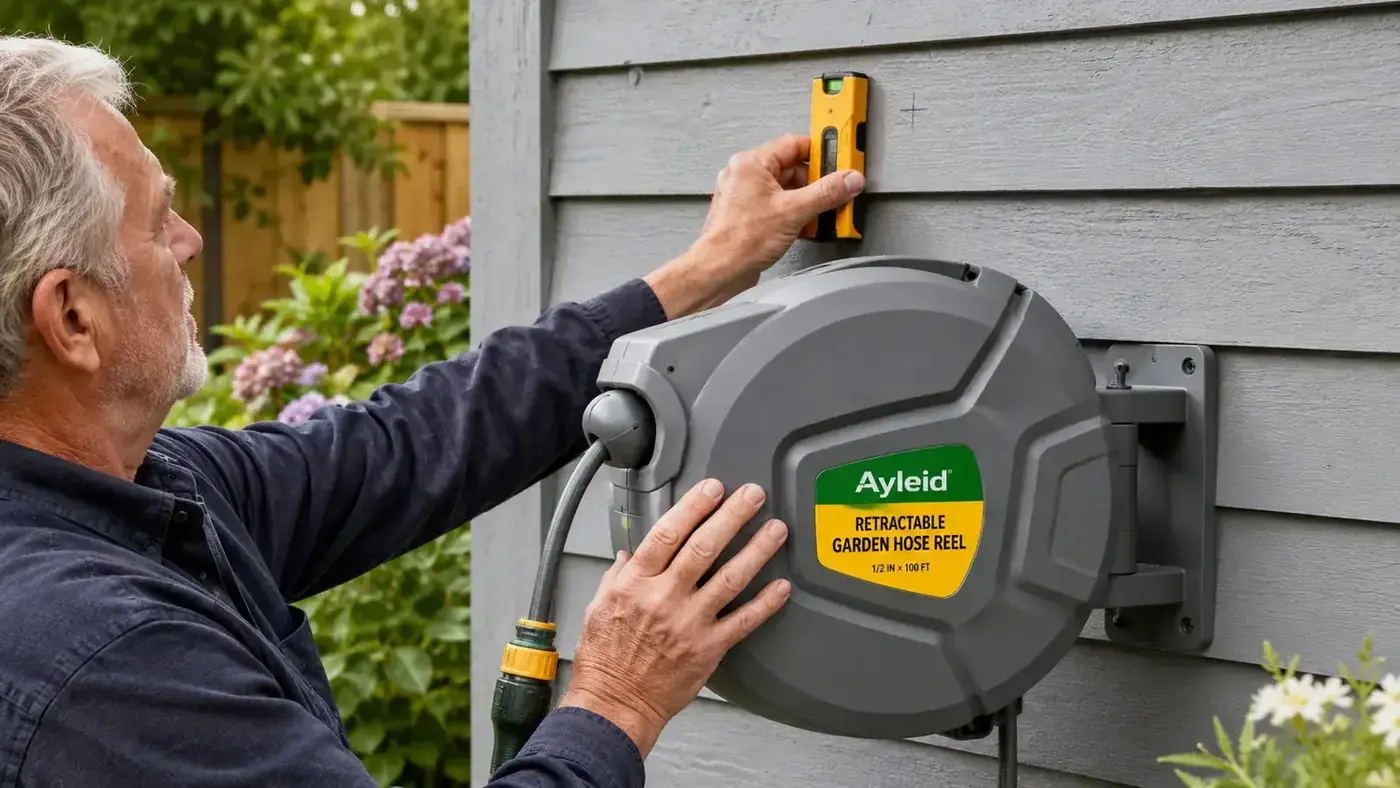
A loaded 100-foot hose reel weighs about 22 pounds when the hose is wet and extended. That weight pulls forward and downward on the bracket. You need the screws in solid wood, not just through siding into nothing. On a standard wood-frame house, studs run every 16 inches. Use a magnetic or electronic stud finder, mark both edges of each stud with a light pencil line, then find the center. I use the two-pass method: scan left to right and mark the right edge of the stud, then scan right to left and mark the left edge. Split the difference for center. This takes two minutes and saves you from a mount that wiggles.
The Ayleid bracket has two mounting holes spaced about 7 inches apart. Ideally, you want both holes to hit studs, which means finding two studs at a spacing that matches the bracket. If your studs are 16 inches apart and the bracket holes are 7 inches apart, only one hole will land on a stud. That is fine. Drive a 3-inch structural lag screw into the stud hole and a 2-inch lag with a wall anchor into the second hole. I used that exact setup and the reel has not budged in over a year. For wood walls, #14 lag screws work well; the box usually comes with 2.5-inch hex-head screws that are adequate if your siding is thin, but I prefer going an inch longer for a better bite.
Step 3: Mounting on Masonry, Brick, or Stucco Walls
If your garage or house wall is concrete block, brick, or stucco over a hard substrate, the stud approach does not apply. You need masonry anchors. Pick up a set of 3/8-inch Tapcon concrete screws and a carbide-tipped masonry bit to match. Mark your bracket holes on the wall, then drill pilot holes slightly shorter than the screw length. Tapcons need clean holes, so blow out the dust with a can of compressed air or a bulb duster before driving the screws. Torque them until snug but do not overtighten, or you will crack the anchor seat in older brick.
Stucco is the trickiest surface. The top layer of stucco can crumble under rotational drilling, so switch your drill to hammer mode and go slowly. If you feel the bit walking, stop and make a small center-punch dent with a nail and a tap from a hammer before drilling. Once the Tapcons are in solid substrate behind the stucco, they hold well. I have seen these mounts survive one-inch-per-hour rainstorms on a Florida garage wall with no movement.
Vinyl siding is the one surface I'd approach with caution. The siding itself is hollow, and even if you find a stud behind it, the bracket can crack the vinyl if the screw head is too large. Use a fender washer under each screw head to spread the load, and drill slowly so the bit does not grab and spin the siding panel.
Step 4: Mount the Bracket and Hang the Reel
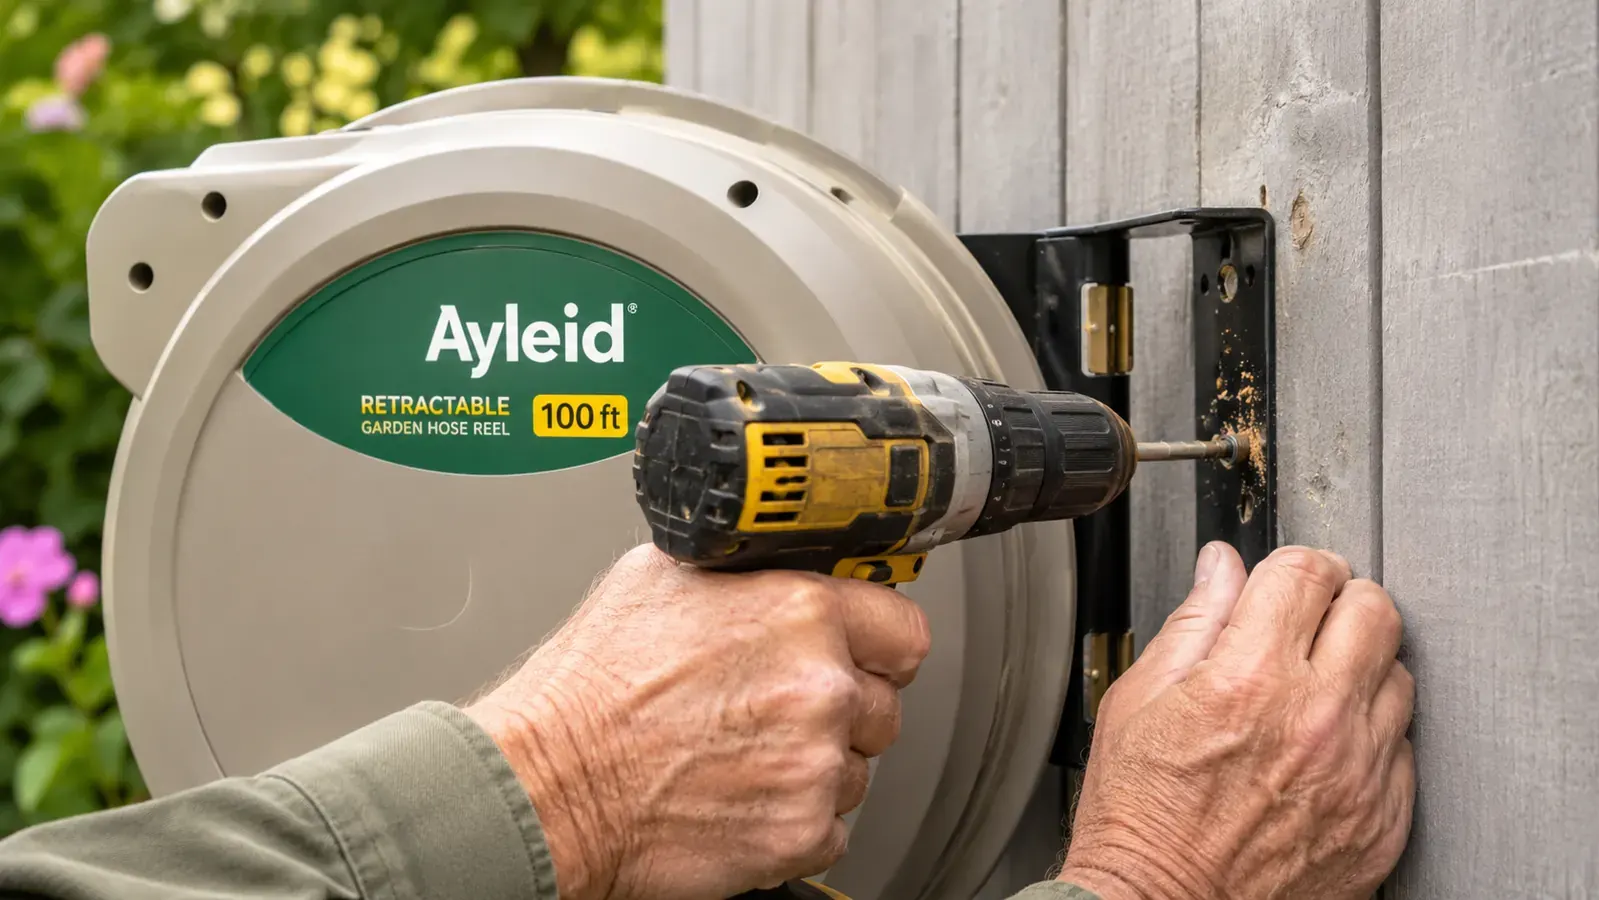
Hold the bracket against the wall at your marked height and transfer the hole locations to the wall with a pencil through the bracket holes. Set the bracket aside and drill your pilot holes. For wood, a 3/16-inch bit creates a pilot that lets a #14 lag screw bite without splitting. For masonry, follow the Tapcon instructions on the package for pilot diameter.
Thread the first lag partway in by hand to keep the bracket positioned, then start the second. Once both are seated, tighten them the rest of the way with a 3/8-inch socket or a hex key, depending on your screw head style. Give the bracket a firm lateral tug. If it moves more than a millimeter, the anchor in the non-stud hole needs a bigger anchor or a different position. If it is solid, you are ready to hang the reel.
The Ayleid reel hangs on two pins that drop into slots on the bracket. Lift the reel, align the pins, and lower it into the slots. You should hear a light click. Give the reel a forward pull to confirm it is seated. It should feel like it is locked onto the wall. Some people add a small safety screw through the bracket into the reel housing as extra insurance, though I have not found it necessary. The pin-and-slot design holds the reel even when you pull 100 feet of hose out at once.
The reel center should sit within four to eight inches of your spigot height. Get that right, and the rest of the install is just drilling and tightening.
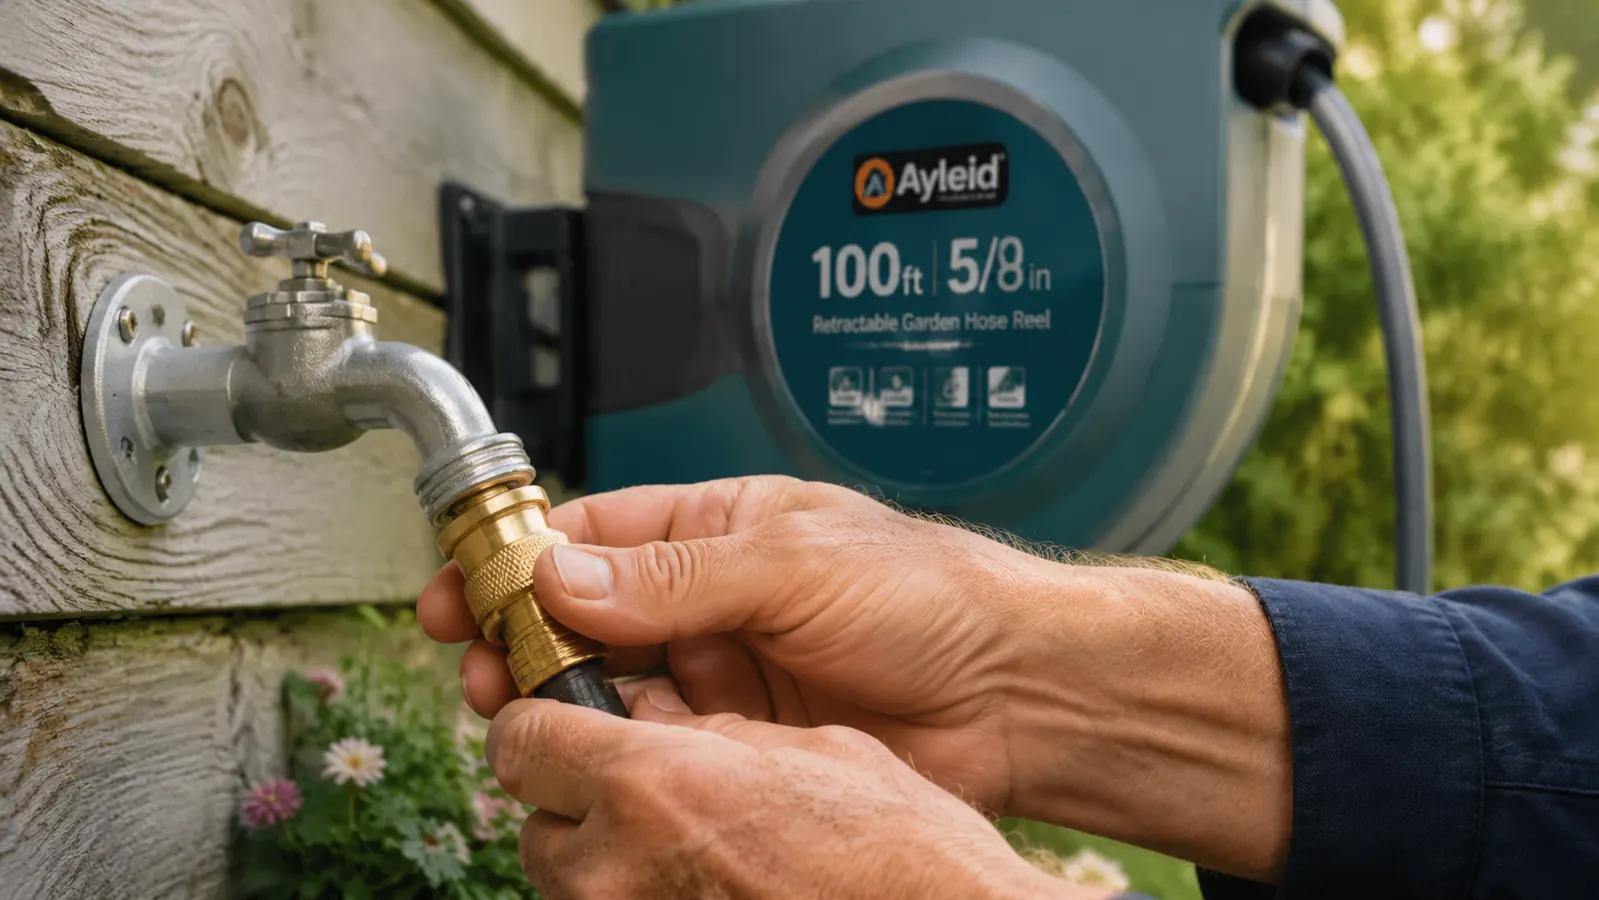
Step 5: Connect the Leader Hose and Set the Auto-Retract
The Ayleid comes with a braided leader hose about five feet long. One end screws onto the reel's inlet port; the other screws onto your outdoor spigot. Both connections use standard 3/4-inch garden hose threads. Hand-tighten each connection, then give it one more quarter-turn with slip-joint pliers. You do not need to reef on it, just firm enough that the washer seats flat. I always keep a few extra hose washers in my shed for this step, because the ones that come pre-installed in the fittings can get nicked during shipping.
Before you turn the water on, pull about 20 feet of main hose off the reel. This charges the internal spring and lets you test the auto-retract without full water pressure inside. Give the hose a slight tug to disengage the any-length lock, then let go. The hose should pull back smoothly, slowing as it nears the reel. If it snaps back hard or stalls halfway, the spring tension can be adjusted via the tension knob on the back of the housing. Clockwise increases tension, counterclockwise reduces it. Start at the middle setting and adjust from there based on your full hose length.
Now turn the water on slowly, about one-quarter turn on the spigot, and check both leader hose connections for dripping. A small bead of water that evaporates quickly is normal pressure-seating; a steady drip means the washer is not seated. Turn the water off, disconnect the leaking side, inspect the washer, and reconnect. Once both ends hold dry, open the spigot fully and pull out a length of hose to test the sprayer nozzle patterns. The nine-pattern sprayer on the Ayleid clicks between settings firmly, which I appreciate on a cold morning when my fingers are not cooperative.
What Else Helps
A few things I have added over the past year that made the reel even easier to live with. First, a small hook on the wall right next to the reel for the nozzle. The Ayleid sprayer has a loop on the back, and having a dedicated spot for it means I am not searching for it in the shed every time I want to water. Second, a strip of closed-cell foam tape on the bottom edge of the reel housing where it touches the wall. On hot summer days, the housing expands slightly and can squeak against siding. The foam stops that. Third, in climates that freeze, you will want to winterize the reel before the first hard freeze. Turn off the spigot, disconnect the leader at the spigot end, pull all the hose out, and let it drain. Then let the hose retract fully. The Ayleid is advertised as anti-freeze, and in my experience that claim holds for brief cold snaps, but leaving standing water in any reel through a hard freeze is asking for a cracked fitting.
If you want to go deeper on how this reel performs over a full year of use, including summer heat cycles and the one freeze I put it through, I wrote up the full long-term review. And if you are still comparing the Ayleid to the Suncast model that comes up in most search results, I ran both side by side for six weeks on the same wall. Those two articles will answer the questions the product page does not.
Ready to get the hose off the ground for good? Here is where to check today's price on the Ayleid.
Over 4,200 reviews, a 24-month warranty, and a rubber hybrid hose that does not kink in cold mornings. Wall hardware is included. You supply the stud finder and about 45 minutes.
Amazon Check Today's Price on Amazon →