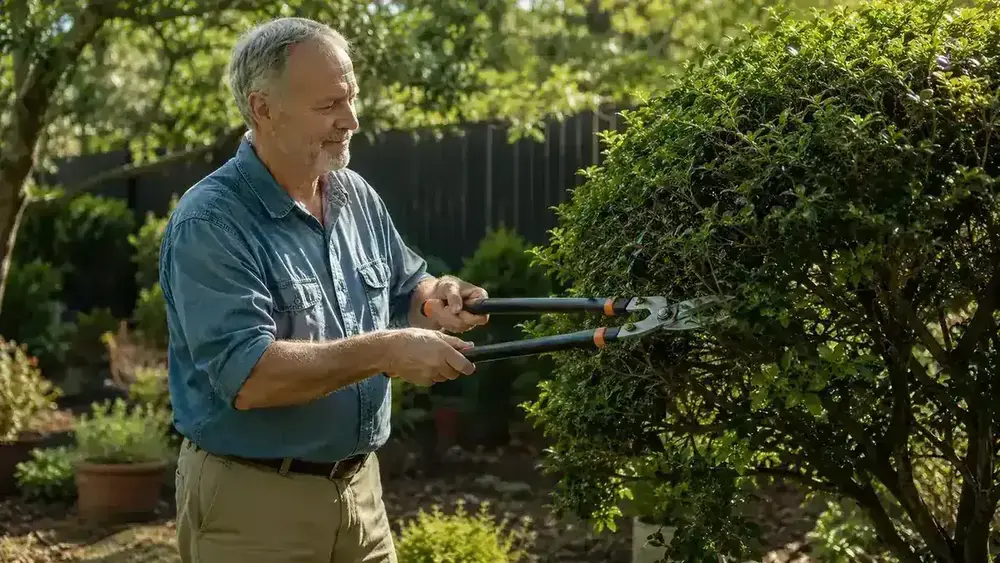
I spent a good chunk of my fifties doing this job the hard way. Get in close to the branch, squeeze as hard as I could, and just muscle through it. Sometimes I won because I'm stubborn. More often I walked back inside with sore wrists, a tweaked shoulder, and maybe half the shrub trimmed. The branch won the other half.
Here's what I eventually figured out: thick-branch trimming isn't really about grip strength. It's about leverage, angle, and using a tool that actually multiplies your force instead of just transferring it directly to your joints. Once I sorted out the technique and got the right lopper in my hands, the job got genuinely easier. Not easier in a marketing-brochure way. Easier in an 'I finished the crape myrtle and my shoulder still works' kind of way. The Spear and Jackson 8290RS ratchet loppers were the tool that finally clicked for me, and I'll get into why as we go through the steps.
If your current loppers are wearing out your wrists, the ratchet mechanism changes everything
The Spear and Jackson 8290RS uses a step-by-step ratcheting system that breaks each cut into smaller bites. No single massive squeeze. Over 5,000 reviewers agree it's a different experience from standard bypass loppers. Check today's price before you start the job.
Amazon Check Today's Price on Amazon →Step 1: Assess the Branch and Choose Your Entry Point
Before you open the loppers, look at what you're actually cutting. Is it dead wood or live wood? Dead wood is drier and often easier to cut but tends to snap unpredictably. Live wood is green and sappy, so it compresses a bit before it cuts clean. Both can surprise you if you're not paying attention to which one you're dealing with.
More importantly, find the branch collar. That's the slightly swollen ring of tissue right where the branch meets the main trunk or a larger limb. You want to cut just outside that collar, not through it. Cutting into the collar is one of the most common mistakes I see, and it damages the tree's ability to seal over the wound. Leave about a quarter inch clearance from the collar and angle your cut slightly downward so rainwater sheds off rather than pooling on the cut face.
For branches thicker than about an inch and a half, also check for tension. Is the branch pulling up or sagging down under its own weight? A sagging branch will pinch your loppers closed as you cut, which stalls the ratchet and forces you to work harder. A branch under upward tension will snap cleanly once you're close to through, which is what you want. If you're cutting a thick sagging limb, do a small relief cut on the underside first, about a third of the way through, before making your main cut from the top.
Step 2: Set Your Stance Before You Touch the Branch
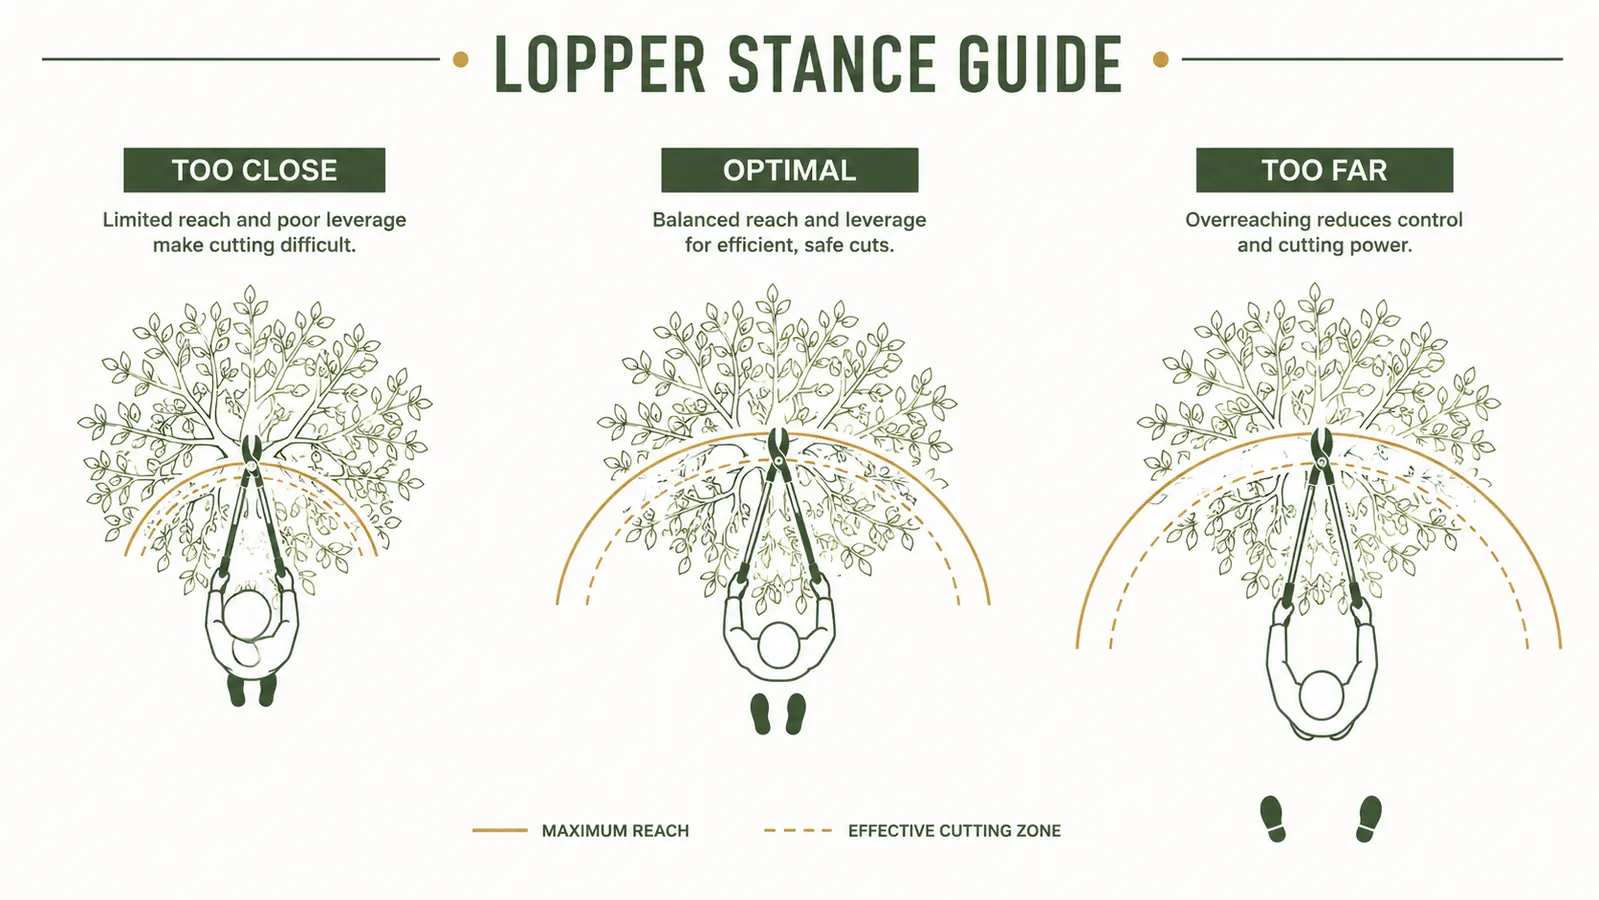
This is the step most people skip, and it's probably the one that costs them the most soreness. Your stance determines how much of the work lands on your shoulders and wrists versus how much your legs and core absorb. Feet shoulder-width apart, non-dominant foot slightly forward, weight centered. Think of it like you're about to push open a heavy door, not like you're reaching for something on a high shelf.
With telescoping loppers like the Spear and Jackson 8290RS, the handles extend from about 28 inches up to 40.5 inches. Use that range to bring the work to a comfortable height rather than forcing your body into an awkward reach. If the branch is above your chest, extend the handles. If it's at knee level, shorten them and bend your knees slightly rather than rounding your lower back. Your elbows should be slightly bent when you grip the handles, not locked out straight. Locked-out elbows transfer every jolt directly into the shoulder joint.
Keep the loppers close to your body centerline. The farther out you reach, the more leverage is working against you instead of for you. If you have to fully extend your arms to reach the branch, move your feet closer first.
Step 3: Open the Jaw Wide and Seat the Branch Properly
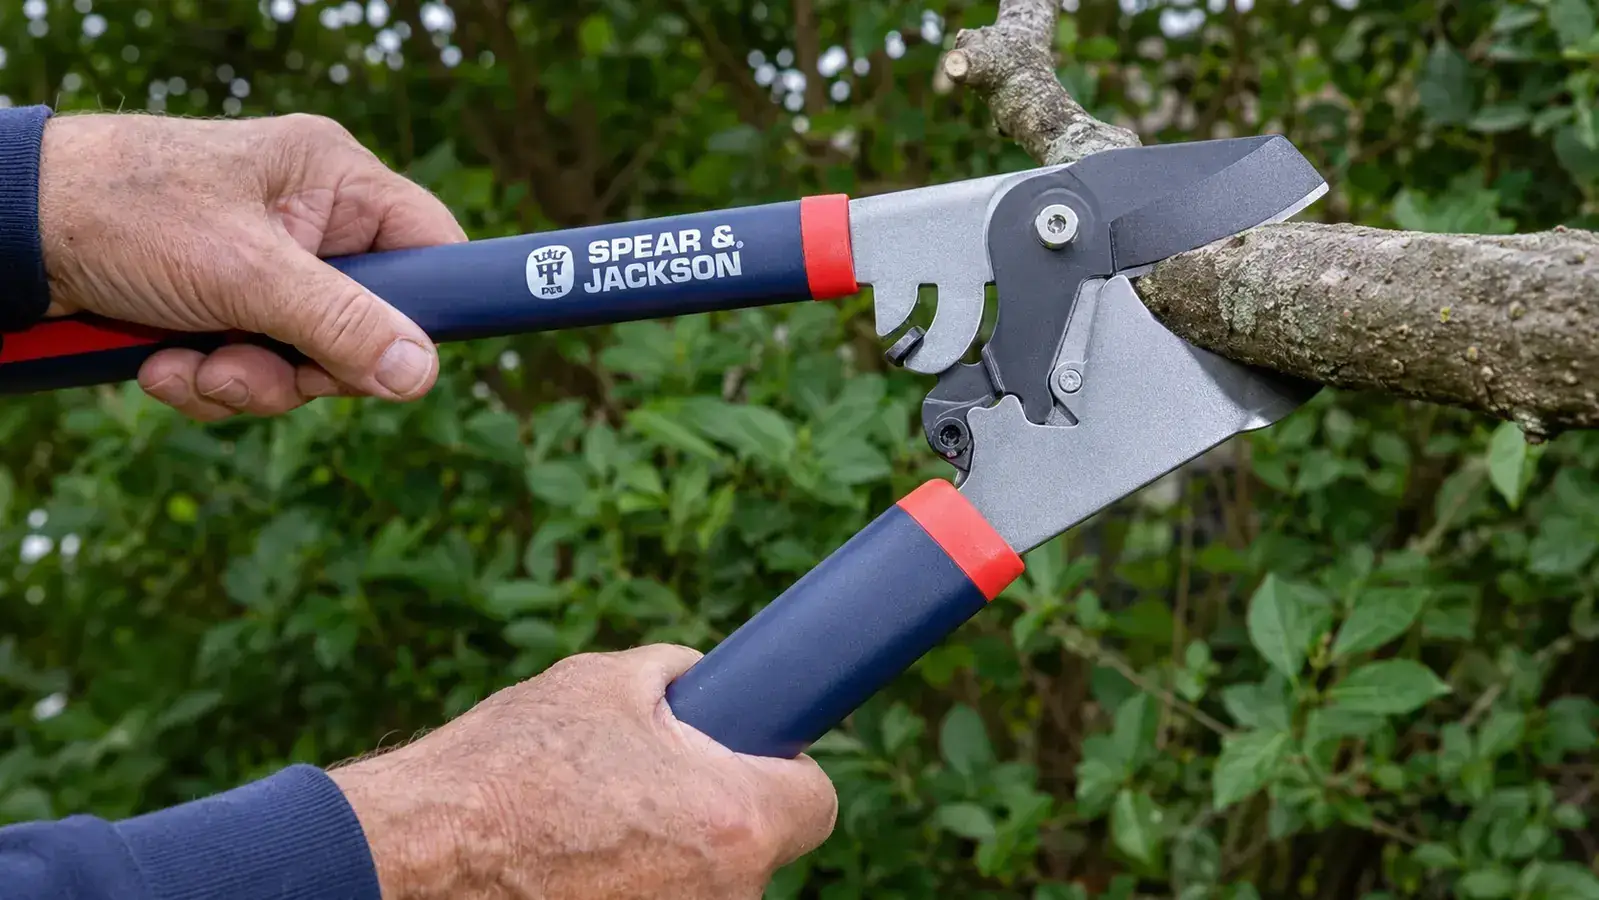
This is where most of the wrist strain actually starts: people seat the branch too close to the tip of the blade. The tip has the least mechanical advantage on a lopper. Seat the branch in the back third of the jaw, as close to the pivot as you can reasonably manage. That's where the blade has the most cutting leverage, and it's where a ratchet mechanism does its best work.
On the Spear and Jackson 8290RS, the jaw is designed with a non-stick coated carbon steel blade and a wide anvil base. When you seat a branch properly in the rear of the jaw, the anvil distributes the cutting force evenly across the wood instead of concentrating it all on one thin edge. For branches between an inch and two inches, this makes a real difference in how much effort the cut takes. I've cut two-inch crape myrtle stems with these loppers that would have taken three or four attempts with my old bypass pair, and here they went through in four or five ratchet strokes without me fighting the handles.
Seat the branch in the back third of the jaw. That's where the blade has the most leverage, and it's where a ratchet mechanism does its best work.

Step 4: Use Short, Controlled Ratchet Strokes, Not One Big Squeeze
If you're used to bypass loppers, the ratchet mechanism takes about five minutes to get used to and then you wonder why you ever used anything else. The principle is simple: instead of one continuous squeeze from fully open to fully closed, you squeeze through a small range, release slightly until you feel the ratchet click, then squeeze again. Each partial squeeze advances the blade another fraction of an inch into the wood. You never have to generate the full cutting force all at once.
For people with arthritis, reduced grip strength, or a healing shoulder like mine after my rotator cuff went sideways a couple of years back, this is not a small thing. It means you can take a short break mid-cut without losing your position in the wood. It means a smaller, weaker hand squeeze is enough to make progress. And it means you can cut branches that are genuinely at the edge of your tool's rated capacity without turning it into a wrestling match.
On each stroke, squeeze deliberately and with control. Don't jab or rush. Smooth, steady compression is faster than frantic squeezing and costs you a lot less effort. Once you feel the ratchet engage and hold, ease off the pressure slightly until you hear the click, then go again. Typically four to six strokes will get you through a two-inch branch. A one-inch branch might go in two.
Step 5: Follow Through and Clear the Cut Branch Safely
The last half inch is where people get hurt or get frustrated. When a branch is nearly through, it will start to tear rather than cut cleanly, especially with an anvil blade. Don't yank or twist the loppers to finish the cut. Keep the same controlled squeeze pressure right through to the end. The branch will drop away or swing down when it separates. Keep your off hand clear of the falling branch line.
Once the branch is off, open the loppers fully to release any clamped fiber, and take a moment to look at your cut face. A clean cut means you're doing it right. A ragged, crushed cut means you either seated the branch too far forward in the jaw or you forced the loppers through a branch thicker than their rated capacity. The Spear and Jackson 8290RS is rated for branches up to two inches in diameter. If you're trying to cut something thicker than that, get a pruning saw instead. These loppers are excellent up to their rating, but they're not a substitute for a saw on serious timber.
Set the branch aside before moving on. I keep a small pile going as I work, then clear it all at once with a tarp drag at the end. Trying to step over accumulating brush while you're already reaching and squeezing is a good way to trip, and that's a worse injury than a sore shoulder.
What Else Helps
Gloves with grip padding on the palm and fingers make a real difference on a long pruning session. I'm partial to the thinner leather-palm style because I can still feel the ratchet clicking through the grip, which is part of how I keep track of where I am in the cut. Thick rubber gloves deaden the feedback and you end up squeezing harder than you need to.
Blade cleaning matters more than most people think. A dirty blade dragging through resinous wood requires noticeably more force than a clean one. I wipe the Spear and Jackson blade down with a rag and a little rubbing alcohol every third or fourth session, and a light coat of WD-40 before I put them away keeps the pivot smooth. Takes about two minutes and extends the life of the mechanism considerably.
Finally, take breaks before you need them. A fatigued grip is weaker and less precise, which means you start forcing cuts rather than letting the tool do the work. I usually do twenty to thirty cuts and then set the loppers down and shake my hands out for a minute. You'll get more done in two hours with breaks than you will in ninety minutes without them, and you'll feel it a lot less the next morning.
If you want the full breakdown of how the Spear and Jackson 8290RS held up across two real growing seasons, including what surprised me and what I'd change, that's over at my long-term review. And if you're trying to decide between these and the Fiskars PowerGear loppers, I put both through the same hedge and crape myrtle session in the side-by-side comparison.
Ready to stop muscling through every cut? The ratchet does the heavy lifting for you
The Spear and Jackson 8290RS has a 4.6-star rating across more than 5,000 real reviews, telescoping handles for hard-to-reach branches, and a ratchet mechanism that's genuinely kind to aging wrists and shoulders. Check today's price and see if they're the right fit for your yard.
Amazon Check Today's Price on Amazon →